Last Updated: October 23, 2026
Quick Summary
How to tape shins for running support involves applying kinesiology tape strips vertically along the shin with minimal stretch on the anchor strip and light stretch on the support strip, then activating the adhesive by rubbing firmly. Tape reduces symptoms and supports your lower leg while you address underlying causes like tight calves or training errors, though it does not cure shin splints.
- Kinesiology tape can stay on your skin for 3-5 days continuously and should be removed if you experience excessive itching, redness, or worsening pain.
- The biggest mistake is stretching the anchor strip; your first strip should have zero stretch to anchor everything else properly.
- Apply tape at least 30 minutes before running so adhesive sets, then use the 24-hour rule to gauge if the load was tolerable.
- Use genuine kinesiology tape, not athletic tape or elastic bandages, which are thinner, more flexible, and designed to move with your skin.
- Stop running and seek professional assessment if you have focal pain directly on the shinbone, pain at rest, or swelling that does not settle.
Table of Contents
- Understanding Shin Splints and Kinesiology Tape
- What You’ll Need: Supplies and Preparation
- How to Tape Anterior Shin Splints
- How to Tape Medial Shin Splints
- How Long to Leave KT Tape On and Wear Guidelines
- Skin Safety, Contraindications, and When to Seek Medical Assessment
- Common Mistakes to Avoid
- Running with Taped Shins: Return-to-Running Strategy
- Frequently Asked Questions
Understanding Shin Splints and Kinesiology Tape
Shin splints are pain along the inner or front of your lower leg, usually triggered by running, jumping, or sudden increases in activity. The medical term for inner-shin pain is medial tibial stress syndrome; repetitive impact stresses the muscles and connective tissues around your tibia (ncbi.nlm.nih.gov). (Source: a 2023 report by the National Institutes of Health)
How kinesiology tape works for shin pain: it gently supports your shin muscles, improves circulation, stabilizes muscle fibers, reduces pain during activity, and can speed recovery between runs.
At Source Acupuncture, we know runners need practical solutions for shin pain, which is why we guide clients through how to tape shins for running support.
The tape doesn’t cure shin splints. It reduces symptoms and supports your lower leg while you address the causes: tight calves, weak muscles, or training errors.
What You’ll Need: Supplies and Preparation
Selecting the right tape and tools matters.
Here’s what to gather before you start:
- Kinesiology tape (pre-cut strips or full roll)
- Scissors with rounded edges for safety
- Skin prep wipes or rubbing alcohol
- Towel for drying
- Optional: pre-tape or barrier spray to protect sensitive skin
Preparing and cleaning your skin prevents irritation and improves adhesion. Wash with soap and water, dry completely, and trim body hair short rather than shaving.
Wipe the shin with rubbing alcohol or a skin prep wipe and let it air dry for 30 seconds. If your skin is sensitive, apply a thin layer of pre-tape spray first.
Skin should be clean, dry, and free of lotion or oils; damp skin reduces adhesion. Wait at least 30 minutes after showering before taping.
How to Tape Anterior Shin Splints
Anterior shin pain runs along the front of your lower leg, following the tibialis anterior muscle that lifts your foot and controls how it lands.
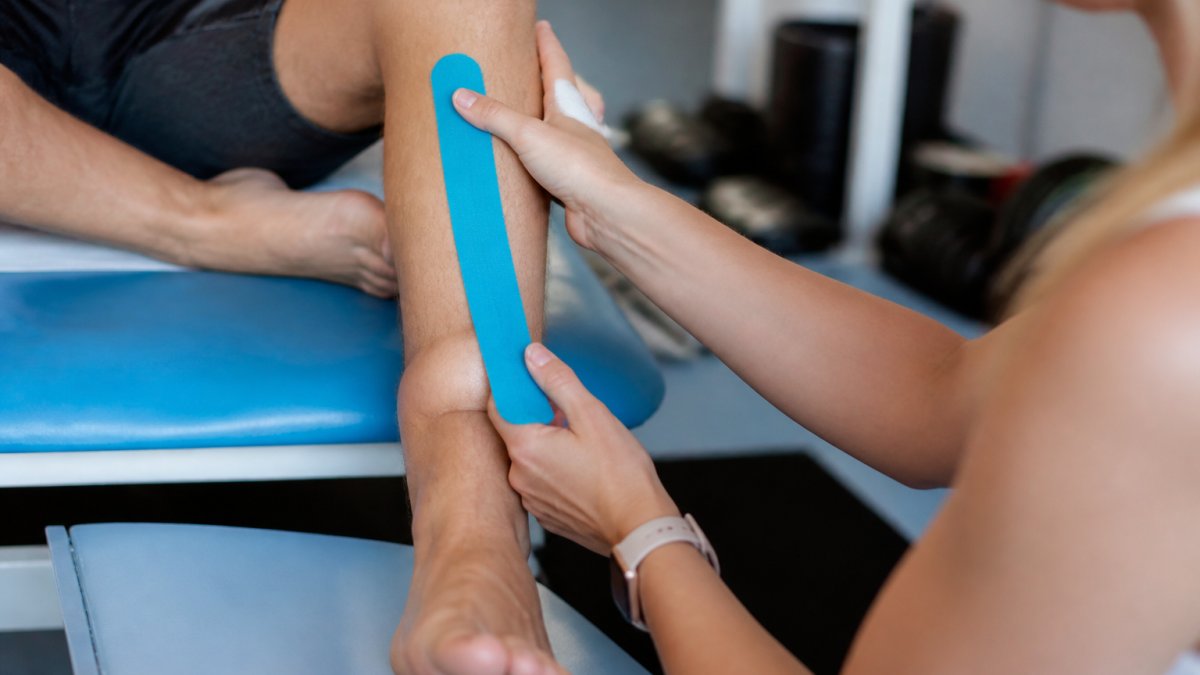
What you need:
- Kinesiology tape, 2-inch width is the practical default for most adult legs
- Rounded-edge scissors
- Skin prep wipe or rubbing alcohol
- A towel and a chair so you can sit with the leg extended
Measure and cut. Sit with your knee bent about 30 degrees and your foot relaxed. Measure from two finger-widths below the kneecap to just above the ankle bone.
Step-by-step application:
-
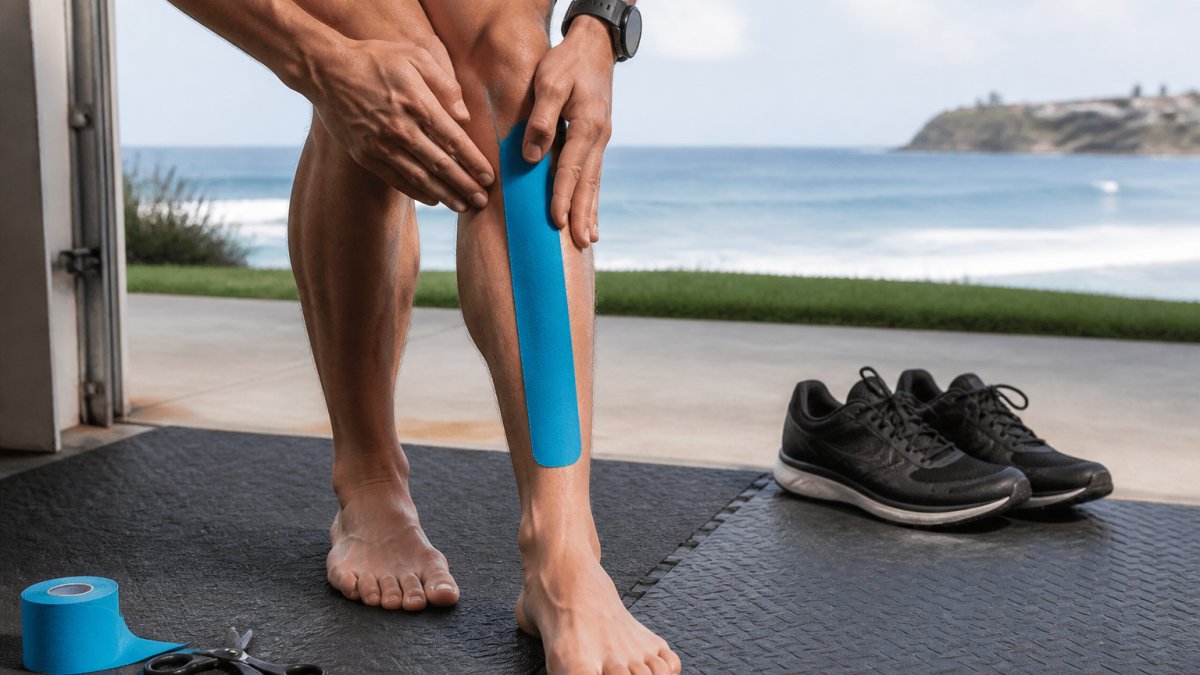
Anchor strip, zero stretch. Place the first strip vertically along the front of the shin, just outside the shinbone, from below the knee to above the ankle, with no stretch. Stretching it makes the tape bunch when you flex.
-
Support strip, light stretch. Place the second strip parallel to the first, about one inch toward the outside of the leg. Apply roughly 25 percent stretch along the middle, keeping the first and last inch unstretched so the ends stay anchored.
-
Activate the adhesive. Rub the tape firmly from the center outward, then top to bottom. Friction and body heat set the adhesive. Do this for 20 to 30 seconds per strip.
-
Test before you run. Stand, rise onto your toes, and take 10 steps. The tape should feel supportive but not tight. If you feel pinching, numbness, or tingling, remove and reapply with less stretch.
What to expect. Many runners notice the front of the shin feels less “grabby” during the first few minutes of a run. That is symptom support, not tissue repair.
Do not wrap tape in a full circle around the leg. Circumferential wrapping can restrict circulation, especially as the leg swells during exercise. Keep strips open at the back of the leg.
If the front-of-shin pain is sharp, focal, and worse when you press directly on the bone, taping is not the right first move. That pattern deserves a professional assessment before you keep running on it.
How to Tape Medial Shin Splints
Medial shin splints affect the inner side of your shin, where the tibialis posterior muscle attaches to the tibia, and are the most common type in distance runners.
Measure two strips from just below your knee to your ankle, as with anterior taping, and round the corners.
-
Apply the first anchor strip. Place one rounded strip vertically along the inner edge of your shin. Start just below your knee and run down to your ankle. Use light pressure with no stretch.
-
Apply the second support strip. Apply the second rounded strip at a slight diagonal across the inner shin, stretching gently (25-50%) as you go. This diagonal placement better supports the tibialis posterior muscle.
-
Smooth and activate. Press firmly over both strips from top to bottom. Make sure all edges are secure.
-
Check comfort. Walk and test your ankle movement. The inner side of your shin should feel supported without restriction.
Medial shin splints often respond well to kinesiology tape because the inner shin muscle benefits from consistent support during activity.
How Long to Leave KT Tape On and Wear Guidelines
Kinesiology tape can stay on your skin for 3-5 days continuously. Most runners wear it during runs and keep it on between workouts.
Remove the tape if you experience:
- Excessive itching or burning
- Redness or rash that doesn’t fade after 30 minutes
- Pain that worsens instead of improves
- Peeling edges that catch on clothing
To remove tape safely, lift one corner gently and peel slowly at a low angle toward your skin.
You can reapply fresh tape immediately after removal. Many runners tape before each run and remove it afterward. Others keep tape on for several days during heavy training weeks.
Kinesiology tape has specific wear limits and should be removed if certain symptoms develop.
| Condition | Action |
|---|---|
| Normal wear duration | 3-5 days continuously |
| Excessive itching or burning | Remove tape |
| Redness or rash not fading after 30 minutes | Remove tape |
| Pain worsening instead of improving | Remove tape |
| Peeling edges catching on clothing | Remove tape |
| Reapplication after removal | Can apply fresh tape immediately |
Skin Safety, Contraindications, and When to Seek Medical Assessment
Red flags that warrant professional evaluation include:
- Severe swelling that doesn’t improve with rest and ice
- Pain that worsens despite taping and rest
- Inability to bear weight on the affected leg
- Numbness or tingling in your foot
- Skin breakdown or signs of infection under the tape
If any of these occur, stop taping and see a healthcare provider.
Skin sensitivity and safe removal matter for long-term use.
Try these alternatives:
- Use pre-tape or barrier spray before applying kinesiology tape
- Switch to hypoallergenic tape brands
- Reduce wear time to 2-3 days instead of 5 days
- Give your skin 1-2 days without tape between applications
If tape causes skin damage, learn how to repair a damaged skin barrier to restore your skin’s protective function.
Never apply tape over open wounds, severe rashes, or broken skin.
Certain conditions make taping inappropriate. Avoid taping if you have:
- Active skin infections or fungal conditions
- Severe varicose veins
- Lymphedema in the affected leg
- Recent surgery on your shin or ankle
When in doubt, consult a healthcare provider before starting a taping routine. They can confirm whether shin splints are your actual problem and whether taping is appropriate.
Common Mistakes to Avoid
Stretching the anchor strip is the biggest mistake runners make.
Applying tape too tightly restricts circulation and causes numbness or tingling.
Skipping skin preparation leads to poor adhesion and irritation. Clean and dry skin is non-negotiable.
Taping over pain instead of addressing causes is tempting but ineffective long-term.
Applying tape while standing makes even tension and proper placement difficult.
Using the wrong tape type wastes money and effort.
Leaving tape on too long causes skin irritation and reduced effectiveness.
Running with Taped Shins: Return-to-Running Strategy
Learning how to tape shins for running support is a tool for managing symptoms while you rebuild tolerance, not a green light to run through pain.
The pre-run tape test. Apply tape at least 30 minutes before running so the adhesive sets and you can feel whether tension is right.
A staged return that respects that rule:
- Stage 1, walk-run. Alternate 1 minute of easy jogging with 2 minutes of walking for 20 to 30 minutes, every other day. Tape for each session. Stop the session if pain climbs above mild.
- Stage 2, continuous easy running. When walk-run sessions leave you no worse the next day for two consecutive sessions, move to 15 to 20 minutes of continuous easy running every other day.
- Stage 3, build volume first. Add 5 to 10 minutes per week to easy runs before you add intensity. Most running-related shin irritation is load-driven, so volume tolerance comes before speed.
- Stage 4, reintroduce speed and hills. Add one short session of strides or gentle hills per week, keeping total volume steady that week. Downhill running and sprinting load the anterior shin heavily, so introduce them last.
Running and shin splint prevention guidelines
Use tape to keep easy running tolerable while you rebuild load, and let the 24-hour symptom response, not the calendar, decide when you progress. Pain that is focal on the bone, present at rest, or worse with walking is a reason to stop and get assessed.
Complementary recovery strategies speed healing beyond taping alone. Consider exploring natural treatment alternatives for shin pain to address underlying causes, and supplements that support muscle recovery during your return to running. Many runners also find strategies to speed up muscle recovery after workouts reduce recovery time.
At Source Acupuncture, we combine taping support with hands-on treatment to address the root causes of shin splints.
Frequently Asked Questions
Does kinesiology tape actually help shin splints?
Kinesiology tape can provide support and reduce pain by improving blood flow and offering muscle stabilization during activity. While tape alone doesn’t cure shin splints, it can relieve symptoms when combined with rest, stretching, and gradual return to running. Results vary by individual and pain severity. If pain persists despite taping and rest, consult a healthcare provider to rule out stress fractures or other underlying conditions.
How long can you leave KT tape on your shins?
Most kinesiology tape can stay on for 3-5 days continuously. However, many runners remove it after workouts or at night to allow skin to breathe. Listen to your body, if you notice irritation, redness, or increased pain, remove the tape immediately. For daily running, reapply fresh tape before each session rather than wearing it continuously for maximum adhesion and support.
What’s the difference between taping anterior and medial shin splints?
Anterior shin splints affect the front of the lower leg and require tape strips running vertically along the tibia. Medial shin splints involve the inner shin and typically use tape positioned along the medial tibial border. The application technique differs based on which muscle group needs support. Identifying your pain location is essential for proper tape placement and effective symptom relief.
Can you run with taped shins right away?
You can run with taped shins, but start conservatively, reduce distance and intensity by 20-30% in your first taped session. Tape provides support but doesn’t eliminate underlying inflammation. Gradually increase running volume over 1-2 weeks while monitoring pain levels. If pain worsens or doesn’t improve within a few days of taped running, rest and seek professional assessment before continuing.
Shin splints don’t have to sideline your running for months. Kinesiology tape provides real support when applied correctly, combined with smart training choices and adequate recovery. If taping and rest aren’t enough after 4-6 weeks, professional assessment becomes important. Source Acupuncture offers personalized evaluation and treatment to get you back to running pain-free. [Book a session](page:Book Session) to explore how we can support your recovery.