Table of Contents
- Why Gradual Transition Matters for Barefoot Running
- Assess Your Baseline: Running Experience and Footwear
- Step 1: Walk Before You Run in Minimalist Shoes
- Step 2: Barefoot Running Training Plan for Beginners
- Step 3: Barefoot Running Form and Technique
- Step 4: Build Foot and Lower-Leg Strength
- Minimalist Running Shoes Transition Timeline
- Barefoot Running Injury Prevention and Warning Signs
- Frequently Asked Questions
Last Updated: October 20, 2026
Why Gradual Transition Matters for Barefoot Running
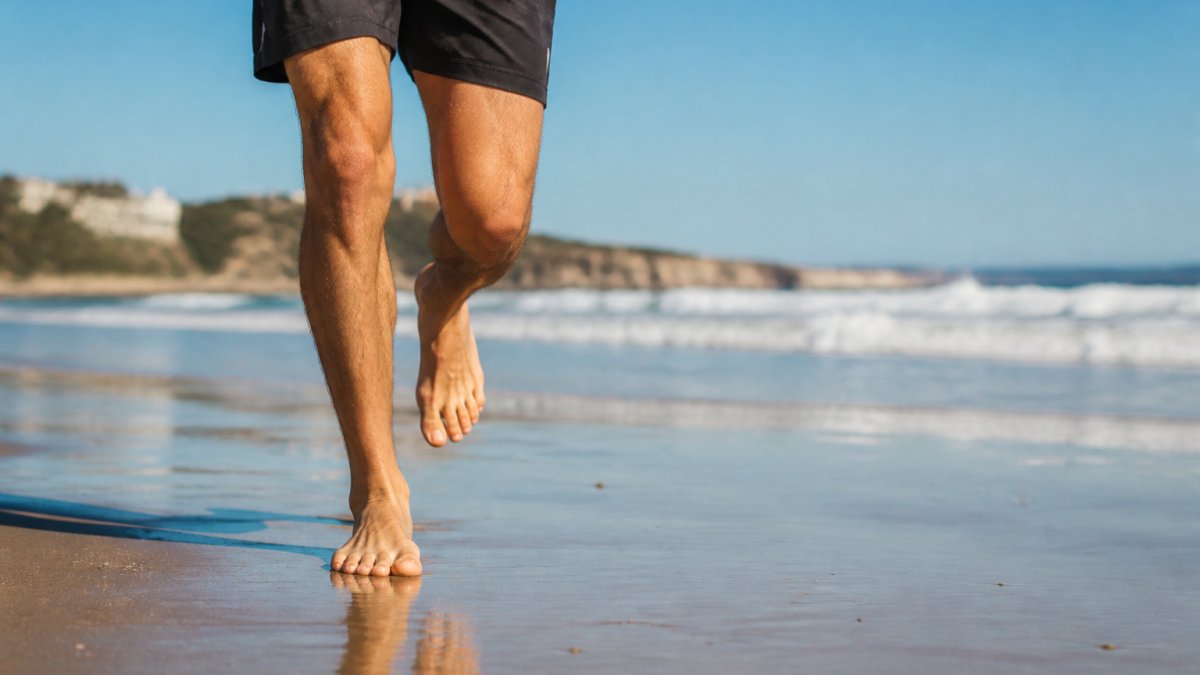
Barefoot running is running without cushioned shoes, and it asks your feet and lower legs to work in ways padded shoes have quietly handled for years.
The transition is not a footwear swap. It is a training change.
Barefoot running works best treated like a new sport. You would not enter a race the week you take up tennis.
A gradual progression is simple to plan. Below: how to build one, what to watch for, and when to pull back.
The most common mistake is doing too much too soon. A single long barefoot run on week one can leave you sore for days and set your progress back weeks. Start with minutes, not miles.
Assess Your Baseline: Running Experience and Footwear
Before your first barefoot mile, take stock of where you are starting. Two people with the same goal can need very different timelines.
Ask yourself a few honest questions:
- How many miles do you currently run each week, and on what surfaces?
- What shoes do you wear, and how much cushioning do they have?
- Have you had calf, Achilles, or plantar issues in the past year?
Your answers set your starting point.
Suitability screening matters. If you have an active injury, diabetes with reduced foot sensation, or a history of stress fractures, talk to a clinician before you start.
Also note your surfaces. Smooth pavement, packed dirt, and grass all feel different underfoot. Start where you can see the ground clearly.
Step 1: Walk Before You Run in Minimalist Shoes
Walking is the first phase, and skipping it is where many transitions fail. Minimalist shoes have thin soles and little cushioning, so they let your foot feel the ground, useful feedback, but your feet need time to get used to it.
Start with short walks, then build:
- Walk 10 to 15 minutes in minimalist shoes on flat, smooth ground.
- Add a few minutes every few days if you feel no soreness.
- Practice on different surfaces as your feet adapt.
- Keep your regular runs in conventional shoes during this phase.
Barefoot shoes for daily wear, like around the house or on errands, add low-level exposure without much risk. That said, ease in. Going from fully cushioned to barefoot shoes all day is its own jump.
Walk barefoot indoors on carpet first. It is the lowest-risk way to wake up foot muscles and build body awareness before you add outdoor surfaces.
Step 2: Barefoot Running Training Plan for Beginners
Most guides give you a table and wish you luck. A safer approach is rule-based: set a starting point from your current mileage and symptoms, then advance only when specific conditions are met.
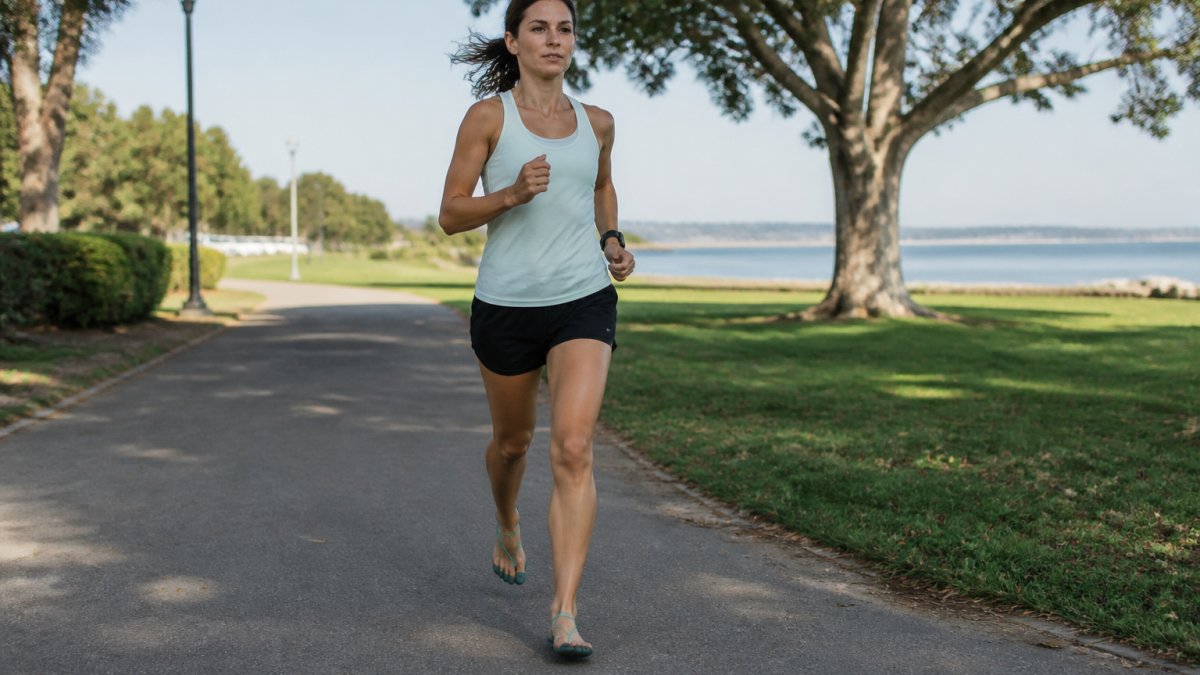
Set your starting point
Use your current weekly running volume and recent injury history to pick a starting barefoot exposure. These are conservative defaults, not medical prescriptions.
- Under 10 miles per week, no calf/Achilles/plantar symptoms in the past year: start with 2 sessions of 3-5 minutes per week.
- 10-25 miles per week, no current symptoms: start with 2 sessions of 3-4 minutes per week.
- Over 25 miles per week, or any calf/Achilles/plantar symptoms in the past year: start with 1-2 sessions of 2-3 minutes per week, and only on your easiest running days.
Run your barefoot minutes at the end of an easy run, on flat, predictable ground, at a relaxed pace. Keep weekly running volume steady for the first four weeks, do not add barefoot time and mileage in the same week.
Progression rules
Advance only when all three conditions are true:
- No soreness that lasts past the next morning.
- No sharp pain during or after the session.
- Your form stayed relaxed and quiet for the full session.
When all three are met, add 2-3 minutes to one session per week, not both. If any condition fails, hold the current dose another week. If soreness lasts more than 48 hours or pain worsens across two sessions, drop back to your last comfortable dose for one to two weeks before resuming.
A 12-week example schedule
This assumes a runner starting at 2 sessions of 4 minutes with no current symptoms. Adjust the starting dose using the rules above.
| Week | Sessions per week | Minutes per session | Weekly barefoot total | Rule in effect |
|---|---|---|---|---|
| 1 | 2 | 4 | 8 | Baseline |
| 2 | 2 | 4 | 8 | Hold to confirm no soreness |
| 3 | 2 | 6 | 12 | Add 2 minutes to one session |
| 4 | 2 | 6 | 12 | Hold |
| 5 | 2 | 8 | 16 | Add 2 minutes |
| 6 | 3 | 8 | 24 | Add a third session |
| 7 | 3 | 8 | 24 | Hold |
| 8 | 3 | 10 | 30 | Add 2 minutes |
| 9 | 3 | 10 | 30 | Hold |
| 10 | 3 | 12 | 36 | Add 2 minutes |
| 11 | 3 | 12 | 36 | Hold |
| 12 | 3 | 14 | 42 | Add 2 minutes |
Notice the pattern: every increase is followed by a hold week. That habit prevents most too-much-too-soon mistakes.
Mix with conventional shoes
Most runners should alternate barefoot and cushioned runs for months, not days. A practical split is one barefoot session per two to three conventional runs during the first eight weeks. As barefoot time grows, shift the ratio, but keep at least one cushioned run per week for recovery and volume.
Track three numbers each week: total barefoot minutes, longest single session, and any soreness that lasted past the next morning. If two of the three are trending up at once, hold your dose.
::: (Source: guidelines from the National Institutes of Health (NIH) on gradual exercise progression)
The most common failure is adding barefoot minutes and weekly mileage in the same week. Pick one variable to increase at a time, and hold the other steady.
Step 3: Barefoot Running Form and Technique
Good barefoot running form and technique reduces impact and joint loading. The ground teaches a lot of this, but a few cues help.
- Land with a light, mid-to-forefoot strike, not a heavy heel slam.
- Keep your steps quick and short. Higher cadence means less pounding.
- Stay tall, with a slight forward lean from the ankles.
Foot strike is the headline change. Cushioned shoes let you land on your heel with little thought; without that padding, a heel-first landing sends a jolt up your leg.
Do not force a dramatic toe strike. Aim for light and quiet. If you can hear your feet slapping, you are landing too hard.
Quiet feet are a useful form check. Run softly, land under your body, and let the ground guide your foot strike.
Step 4: Build Foot and Lower-Leg Strength
Strength work makes the transition stick. Foot strength and calf strength are the two pillars, and both are trainable.
A simple weekly routine:
- Calf raises: 2 to 3 sets of 10 to 15, both legs then single leg.
- Heel raises and toe raises: slow and controlled, for balance front to back.
- Toe spreads and toe lifts: pick up and spread your toes to wake up small foot muscles.
Stretching has its place, but strength does more for injury risk here. Tight calves are common in new barefoot runners, so pair gentle stretching with consistent calf raises.
Lower-leg conditioning also means respecting recovery. Soreness that fades in a day is normal. Soreness that lingers or sharpens is a signal.
Do your foot and calf work on your rest days, not right before a barefoot run. You want those muscles fresh when you ask them to absorb impact.
Minimalist Running Shoes Transition Timeline
The minimalist running shoes transition timeline is individual, but most runners need months, not weeks. Give yourself 8 to 12 weeks before barefoot time becomes a regular part of your week, and longer if you are older, heavier, or coming off an injury.
Signs you are on track:
- No lingering soreness the day after a session.
- Your calves feel worked but not strained.
- Your form stays relaxed as time increases.
Signs to slow down:
- Persistent Achilles or calf tightness.
- New heel or arch pain.
- Aching that lasts more than a day or two.
Anatomical differences matter. Foot shape, arch height, and prior injuries all change how fast you adapt. Compare yourself only to your own last week.
Barefoot Running Injury Prevention and Warning Signs
Injury prevention here is less about a magic cue and more about sorting normal adaptation from early warning signs, then acting on clear thresholds. Most new barefoot runners feel something in their calves or feet in the first month. The skill is telling the two apart.
Expected adaptation soreness vs. concerning pain
Use this comparison to classify what you feel:
- Expected: mild, diffuse calf or arch soreness that appears after a session, peaks within 24 hours, and fades by the next morning. It feels like a worked muscle, not a spot you can point to.
- Concerning: sharp, localized pain you can pinpoint with one finger; pain that worsens during a run; pain that wakes you at night; swelling; or soreness that lasts beyond 48 hours.
A common pattern is that expected soreness responds to a hold week, while concerning pain does not. If a hold week does not settle it, treat it as concerning.
Stop, pause, or seek care
- Stop the session if you feel sharp pain, a sudden twinge, or pain that changes your stride.
- Pause barefoot exposure for 1-2 weeks if soreness lasts more than 48 hours or returns at the same dose twice in a row. Resume at your last comfortable dose.
- Seek care from a qualified clinician if pain persists beyond two to three weeks, if you have swelling or night pain, or if you cannot walk normally the next day. Runners with diabetes and reduced foot sensation, a history of stress fractures, or an active injury should get clearance before starting or continuing.
Risk factors that call for a slower plan
Some starting points need more caution: prior calf, Achilles, or plantar injury in the past year; a large jump in running volume in the last three months; high body weight relative to recent training; older age with lower recent impact exposure; and jobs on hard floors all day. None rule out barefoot running, but each argues for the lowest starting dose and longer holds between increases.
Surface, weather, and environmental safety
Ground choice changes the load as much as volume does.
- Best buildup surfaces: smooth pavement, packed dirt, and short, even grass. They are predictable and let you see what you are stepping on.
- Avoid during buildup: loose gravel, sharp rocks, hot asphalt, and debris-covered paths. Save these for later, if at all.
- Heat: pavement can be far hotter than the air temperature. Test with the back of your hand before running, and avoid midday summer sessions.
Evidence context
Research on barefoot and minimalist running is mixed. Studies suggest barefoot running changes foot strike and loading patterns, but they do not establish that it reduces injury risk for every runner, and some show increased calf and Achilles load during transition. Treat technique claims as general guidance, not universal rules, and let your symptom response drive the plan.
Do not push through sharp pain to “test” it. Overuse injuries that get ignored early tend to cost far more training time than a few days of rest.
Expected soreness fades by the next morning and responds to a hold week. Concerning pain is sharp, localized, worsens during a run, or lasts beyond 48 hours. Act on that difference early.
Frequently Asked Questions
How long does it take to transition to barefoot running?
Most runners need 8 to 12 weeks to adapt safely, but the timeline varies with your starting point. Begin with walking in minimalist shoes for 1-2 weeks, then add short barefoot running intervals of 1-2 minutes on soft surfaces. Increase weekly volume by no more than 10%. If you feel persistent pain, extend the timeline. A barefoot running training plan should be individualized, so adjust based on how your feet and calves respond.
Should I start with minimalist shoes or run barefoot?
Start with minimalist shoes to give your feet some protection while you adapt. Barefoot running offers maximum sensory feedback, but minimalist shoes reduce the risk of cuts and bruises on unfamiliar surfaces. Many runners alternate: use minimalist shoes for most runs and go fully barefoot on safe surfaces like grass or a track. This mix-and-match approach supports gradual progression and helps you build foot strength without overload.
What are the signs that I’m progressing too quickly?
Watch for sharp pain in your feet, persistent soreness in your calves or Achilles tendon, or pain that worsens during a run. These are pain signals that you should stop and rest. Other signs include swelling, bruising, or a feeling of instability. If you experience any of these, return to your previous level of activity and consult a healthcare professional if symptoms persist. Ignoring early warnings can lead to overuse injuries.
How often should beginners practice barefoot running?
Start with one or two short barefoot sessions per week, such as 5-10 minutes of walking or easy jogging on a soft surface. Gradually increase frequency to three times per week as your feet and calves adapt. Avoid consecutive days of barefoot running until you have built a solid base. Listen to your body: if you feel sore, take an extra rest day. Consistency matters more than volume in the early weeks.